The pomballs are designed to be knit as 4 identical panels. I’ve given instructions for knitting them on 4 double point needles, but those of you who love magic loop or knitting on 2 long circulars will have no problem adapting these balls. You would just need 2 stitch markers to divide the work into halves – the junction of the needles would serve to mark the other boundaries.
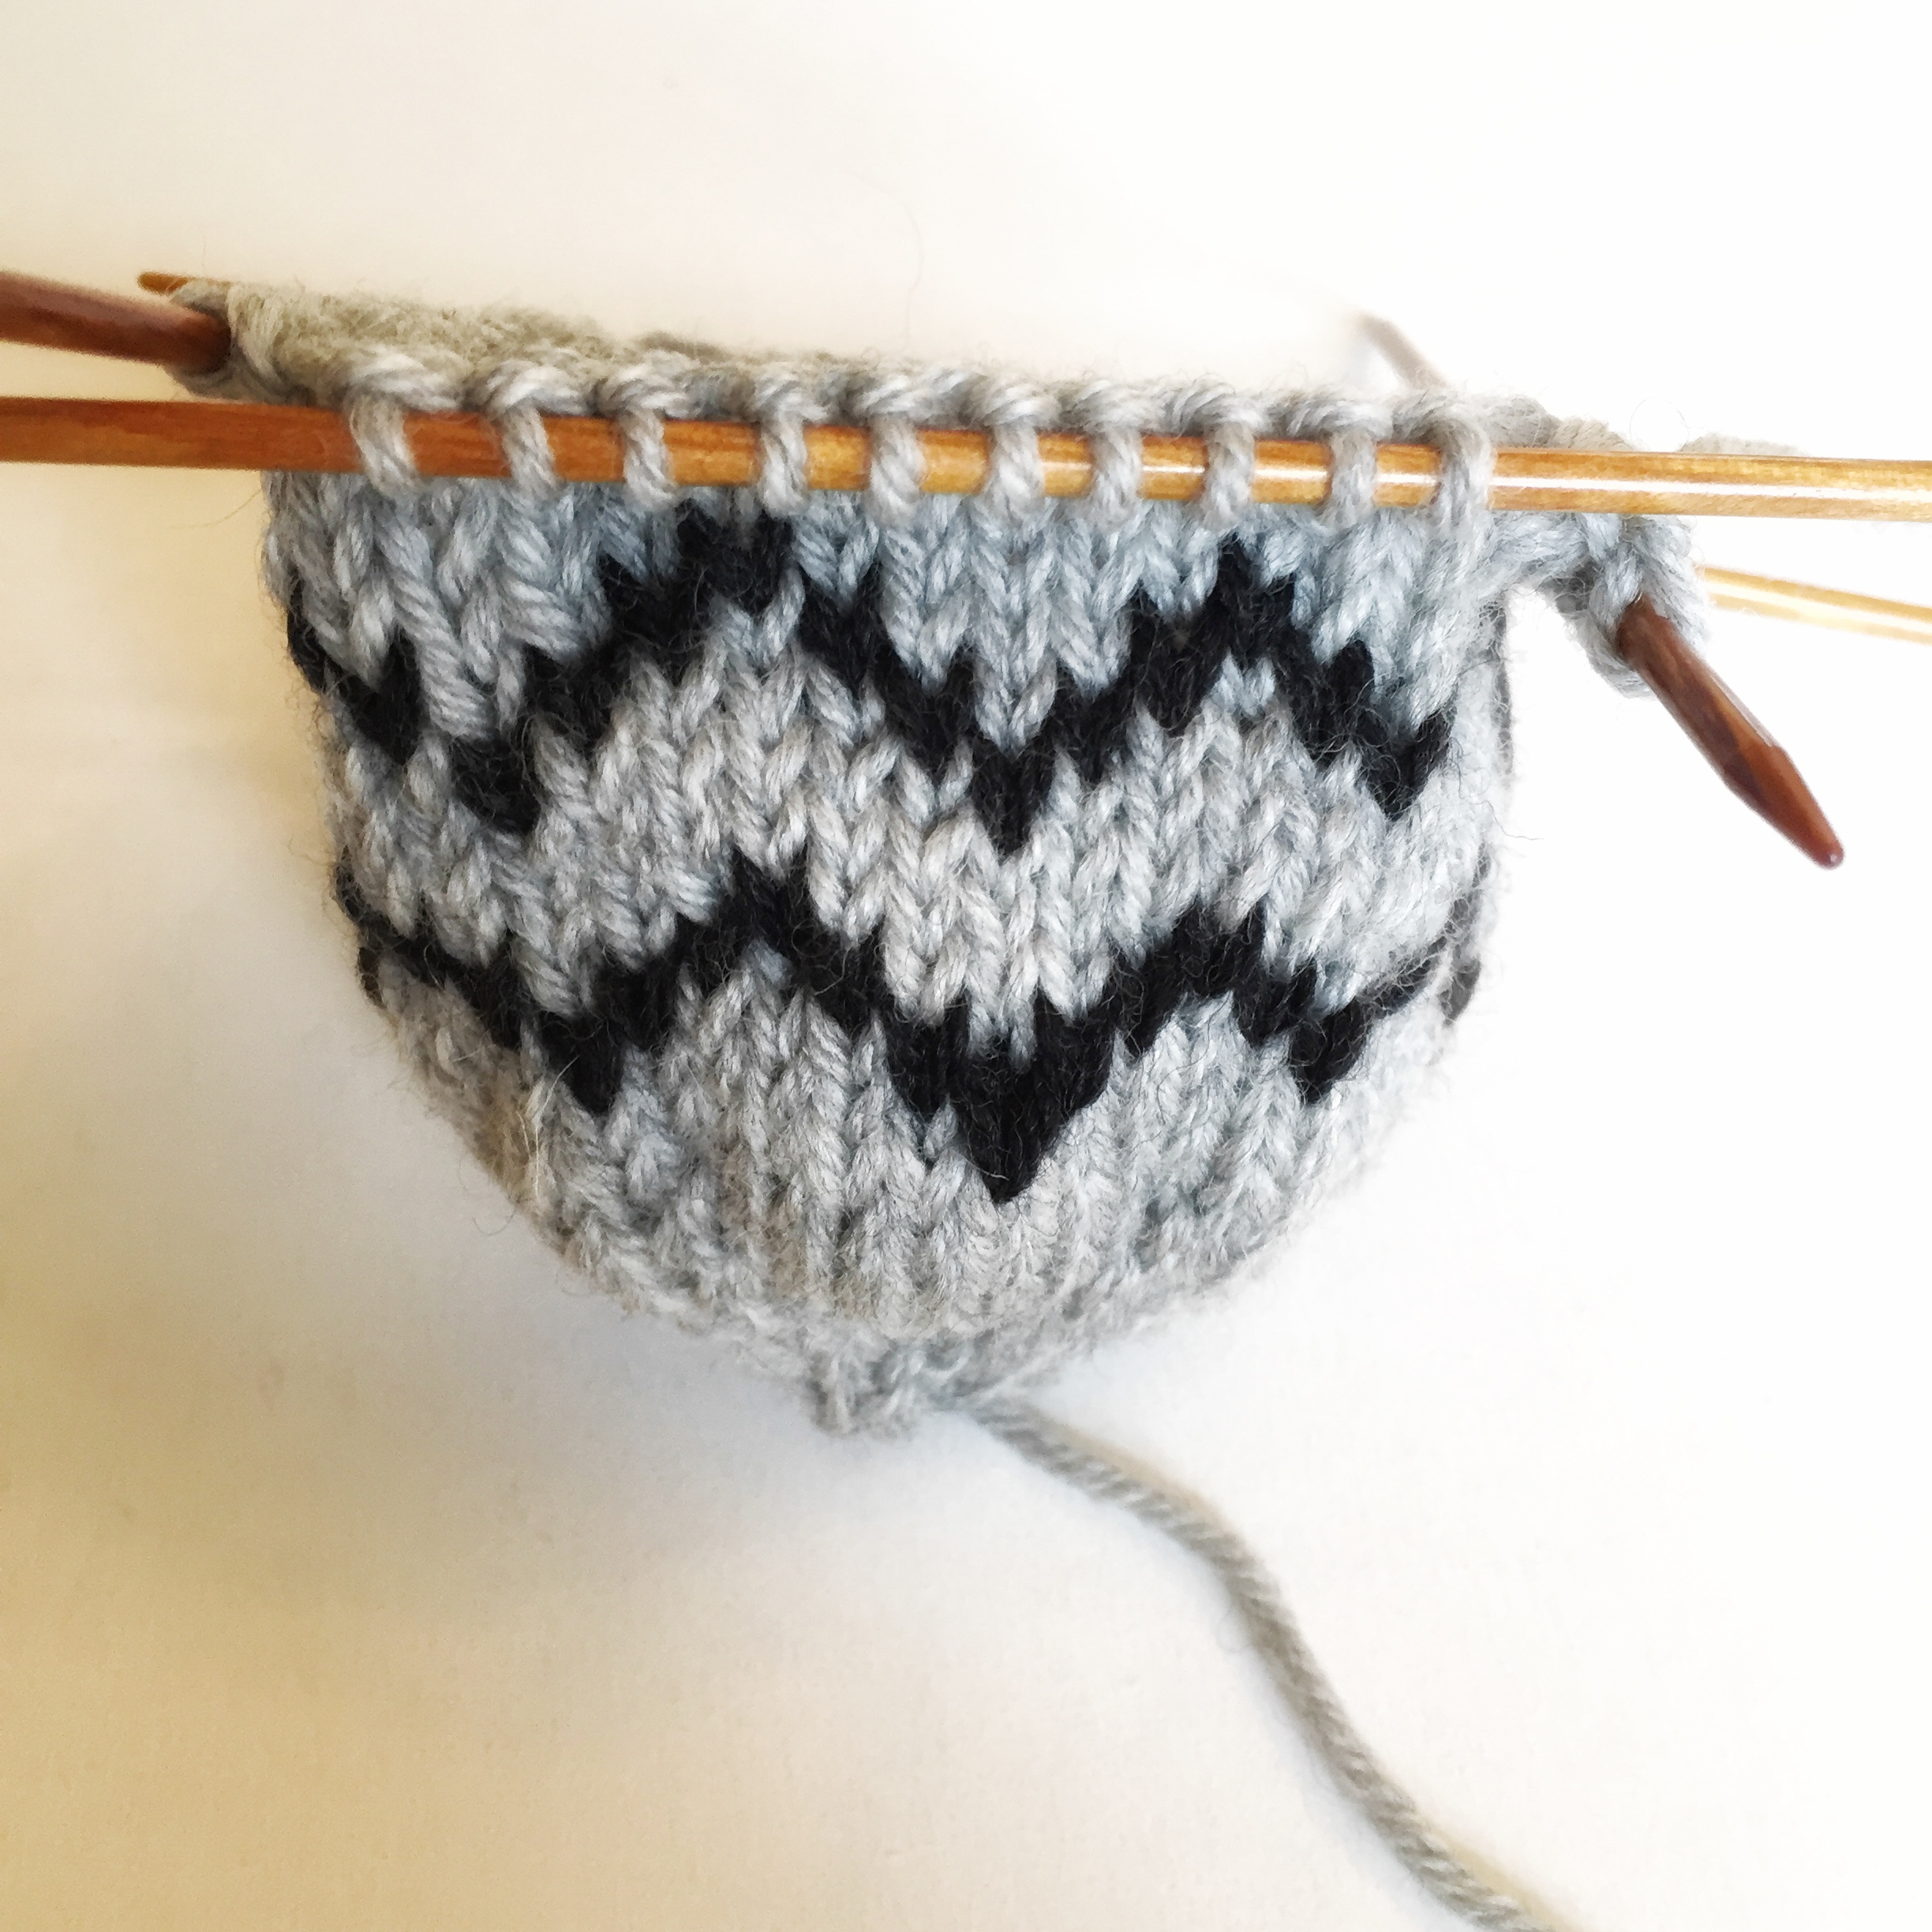
Because you’re not worried about stretching the pomball over anyone’s head, you don’t need to worry so much about the floats’ length and you can knit in the round like normal if that makes you more comfortable, rather than knitting it inside out to keep the floats loose.
Each pomball has instructions to stop and stuff the pomball partly full. Why not stuff it all the way to where you’ve knitted? The reason for this is that knitting around stuffing tends to mean that strands of the stuffing work their way into the knitting and everything looks less awesome. Partially stuffing the ball and then topping it off when you have just a small opening works well to keep that mess at bay.

Once you’re finished the decreases and stuffed it a bit more, you bring the end of the yarn down through the ball to the cast-on end. Then we use them for attaching the pomball to the hat.
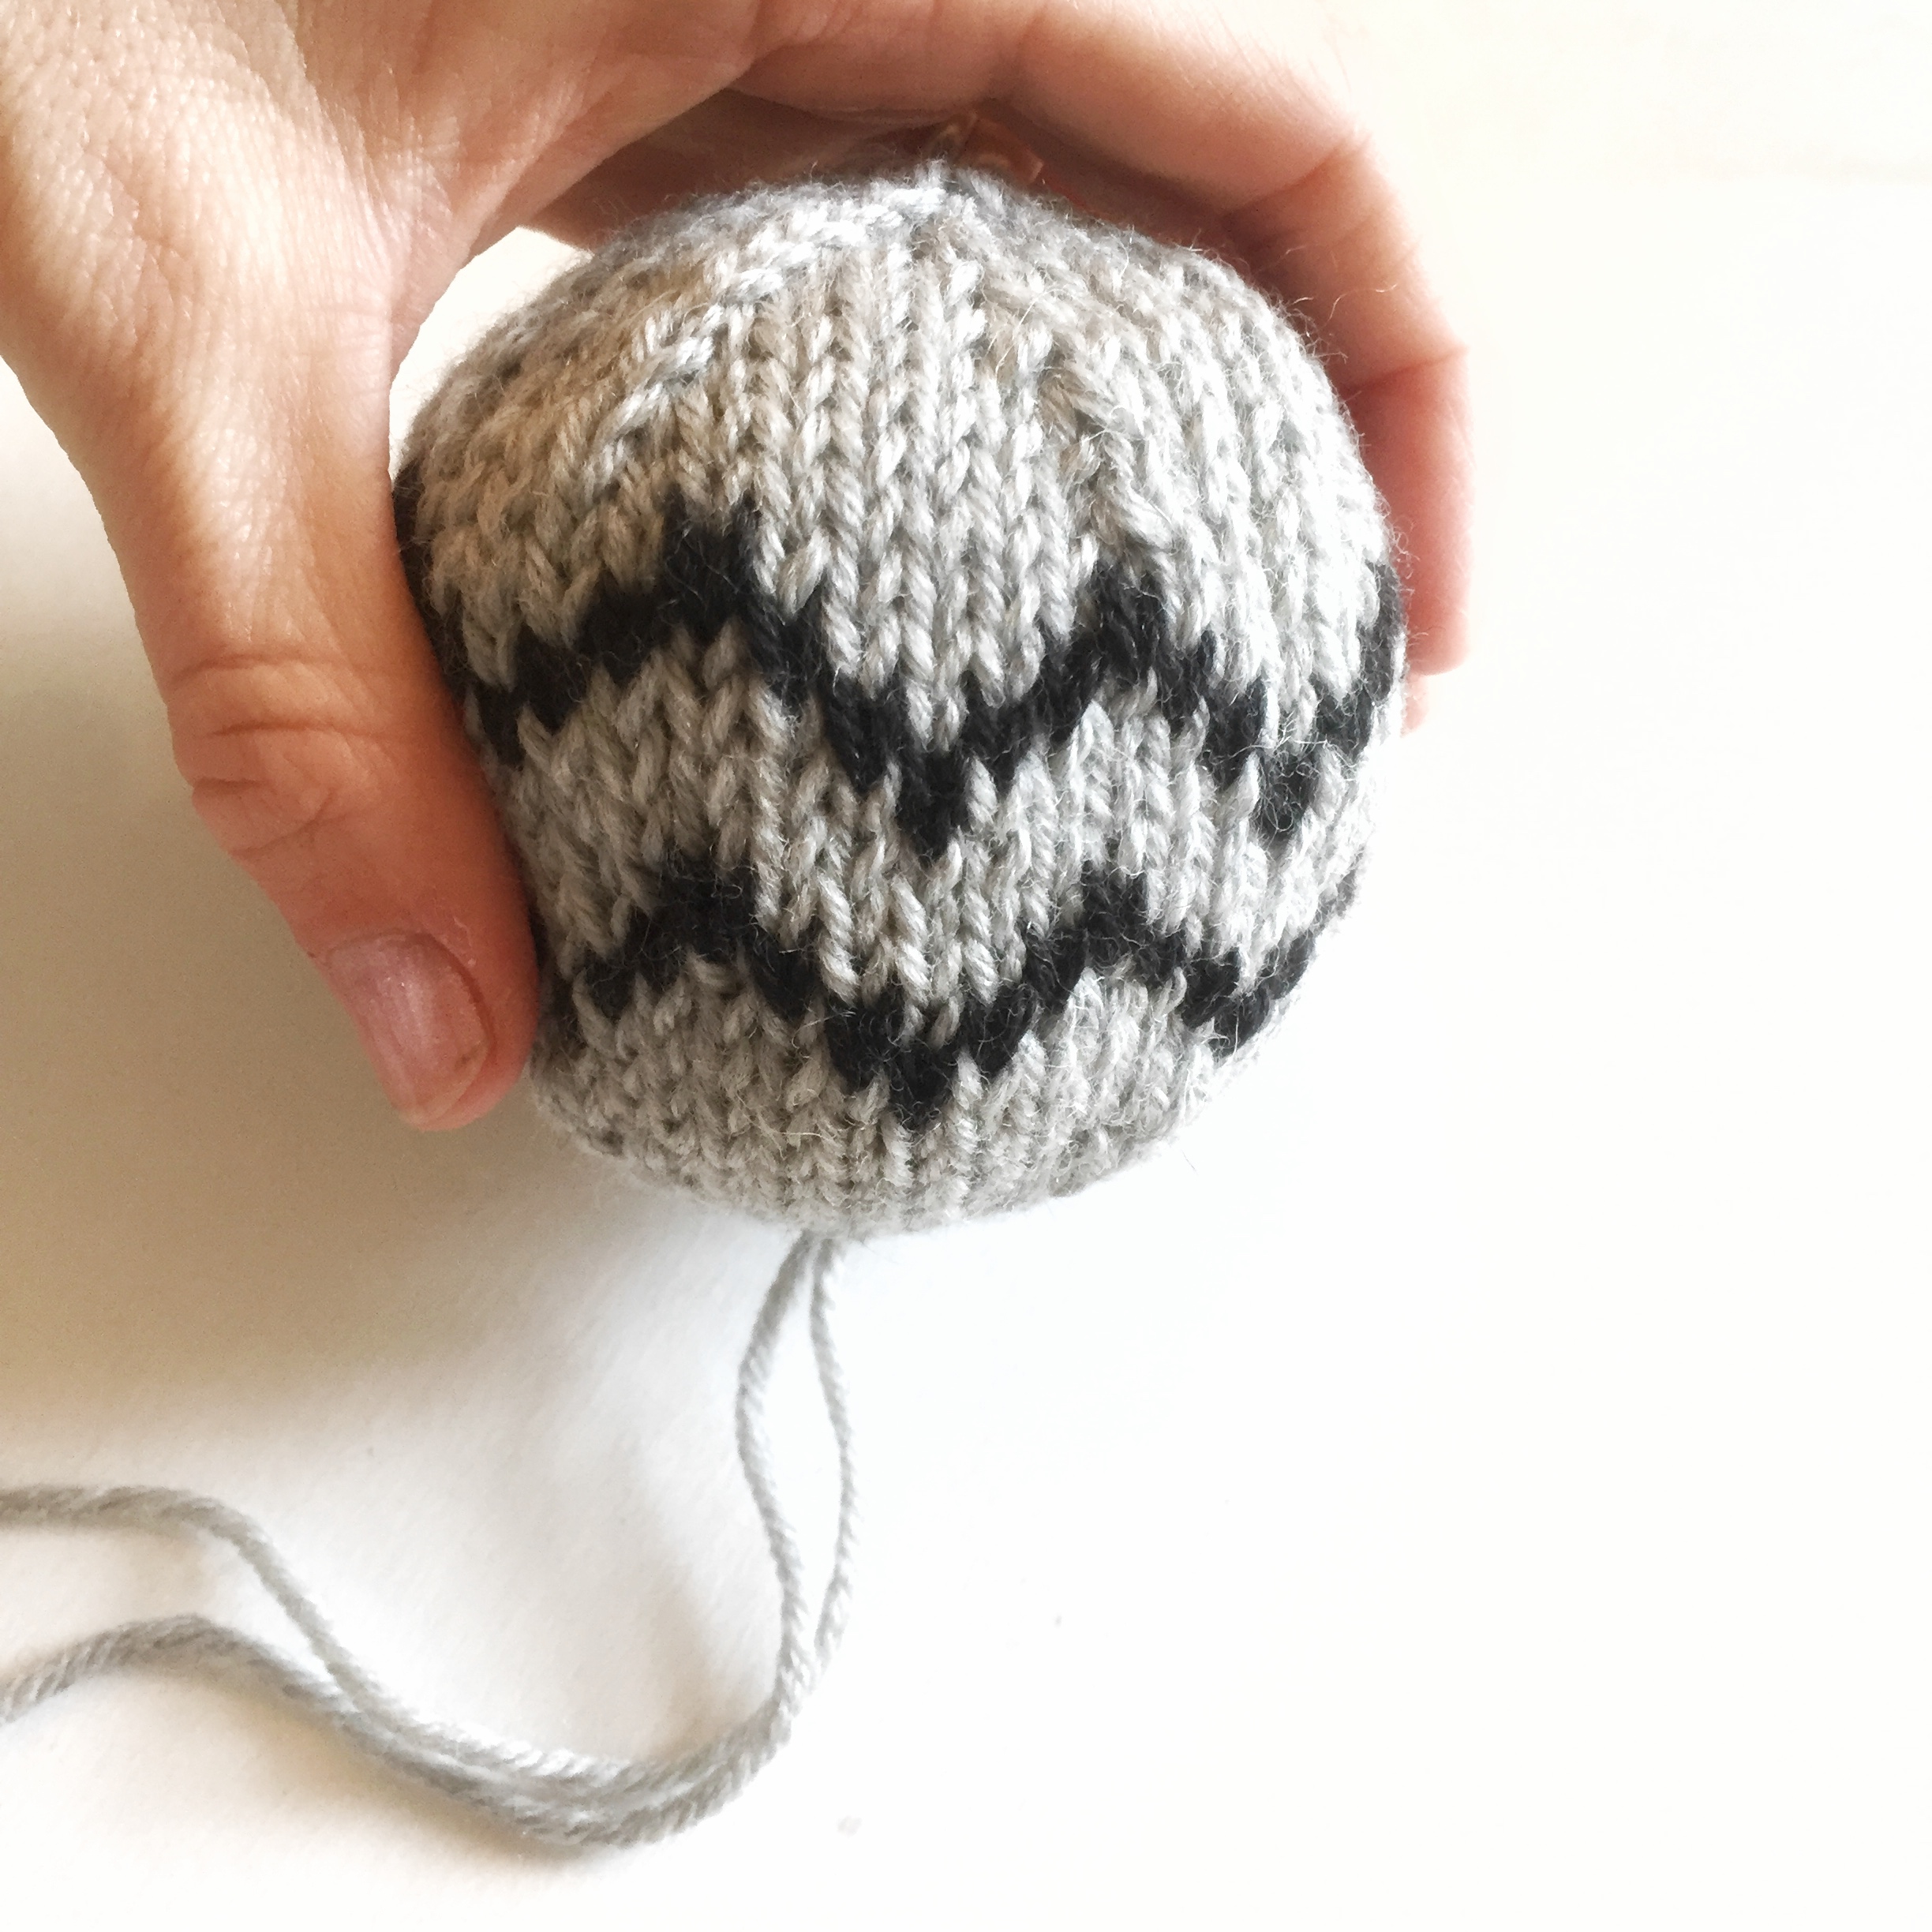

As you can tell, I don’t stuff my pomballs very full. When I stuff toys I really jam the stuffing in so that the darling young recipient of the stuffie doesn’t end up with a pathetically droopy friend. For the pomballs, however, I want enough stuffing that they are going to stay plumply spherical but I don’t think these need a lot of stuffing. It adds weight, for one thing, and it’s a pain when your slouchy hat is trying fall off the back of your head. No one needs that.
Hope that helps! As ever, please ask questions if you have them.
More Pomball Tutorials:
Try Knitting Your Colourwork Hats Inside-Out
But how do I Wash and Block the Pomball?
Even more tutorials on the Knitting Tutorials page.
2 thoughts on “Zig Knitalong: working the Pomball”
Comments are closed.